
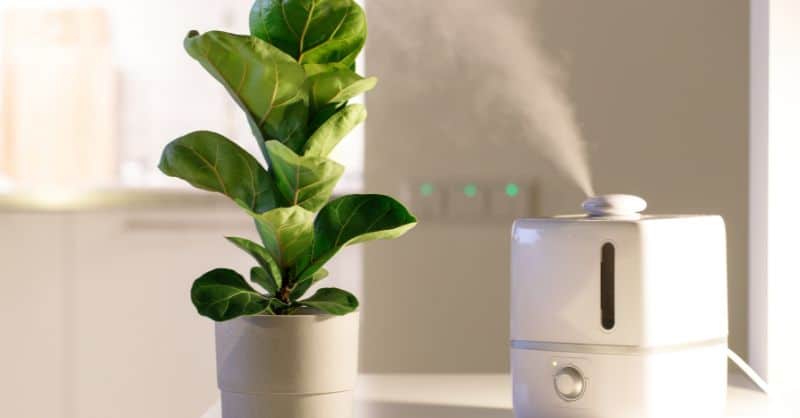
A clean humidifier is essential for maintaining healthy air quality in your home. Proper care and maintenance will not only prolong the life of your humidifier but also ensure that it operates effectively. In this article, we will provide you with a step-by-step guide to cleaning your humidifier, along with helpful backlinks for further information and resources.
Step 1: Unplug and Disassemble the Humidifier
Before starting the cleaning process, ensure that your humidifier is unplugged to avoid any potential hazards. Next, carefully disassemble your humidifier by referring to the instruction manual that came with your device. Remove the water tank, filter, and any other detachable parts.
Read also: Understanding the Components of Your Humidifier
Step 2: Clean the Water Tank
Empty the water tank and clean it using a mild dish soap and warm water. For a more thorough clean, consider using a water and vinegar solution by mixing equal parts of white vinegar and water. Fill the tank with the solution, let it sit for 20-30 minutes, and then scrub it with a soft brush or cloth. Rinse the tank thoroughly with clean water to remove any residue.
Read also: How to Clean a Humidifier Water Tank
Step 3: Clean the Filter
Some humidifiers come with a reusable filter, while others require replacement. If your filter is reusable, clean it by soaking it in a solution of equal parts water and white vinegar for 20-30 minutes. Afterward, gently scrub it with a soft brush or cloth, then rinse it thoroughly with clean water. Allow the filter to air dry completely before reassembling the humidifier.
Read also: Maintaining Your Humidifier’s Filter
Step 4: Clean the Base and Other Components
Using a soft brush or cloth, clean the base of the humidifier and any other components with a solution of equal parts water and white vinegar. If necessary, use a small brush or cotton swab to clean hard-to-reach areas. Rinse all parts thoroughly with clean water to remove any residue.
Read also: Cleaning Humidifier Components: Tips and Tricks
Step 5: Reassemble and Refill the Humidifier
Once all the parts are clean and dry, reassemble the humidifier according to the instruction manual. Refill the water tank with clean, distilled water, as tap water can contain minerals that may build up inside the humidifier over time.
Read also: Benefits of Using Distilled Water in Your Humidifier
Step 6: Regular Maintenance
To keep your humidifier functioning optimally, it’s important to clean it regularly. This may vary depending on usage, but a general rule of thumb is to clean it at least once a week during the months of continuous use. Additionally, replace the filter according to the manufacturer’s recommendations.
Read also: Establishing a Routine Humidifier Maintenance Schedule
Conclusion
Cleaning your humidifier is an essential part of maintaining its efficiency and prolonging its lifespan. By following these steps and utilizing the provided backlinks for additional information, you can ensure that your humidifier remains in good working condition, providing optimal air quality and comfort in your home. Remember, regular maintenance is key to keeping your device functioning at its best, so don’t forget to establish a cleaning routine that works for you.
Read also:
- Choosing the Right Humidifier for Your Home
- The Importance of Indoor Air Quality
- Preventing Mold Growth in Your Humidifier
By taking the time to clean and maintain your humidifier, you are investing in your health and well-being. Keep your indoor air quality at its best by following the steps outlined in this article and exploring the provided backlinks for even more helpful information.